
The Scrypted Custom Component for Home Assistant adds support for managing Scrypted from your Home Assistant Dashboard, and creation of Scrypted NVR cards.
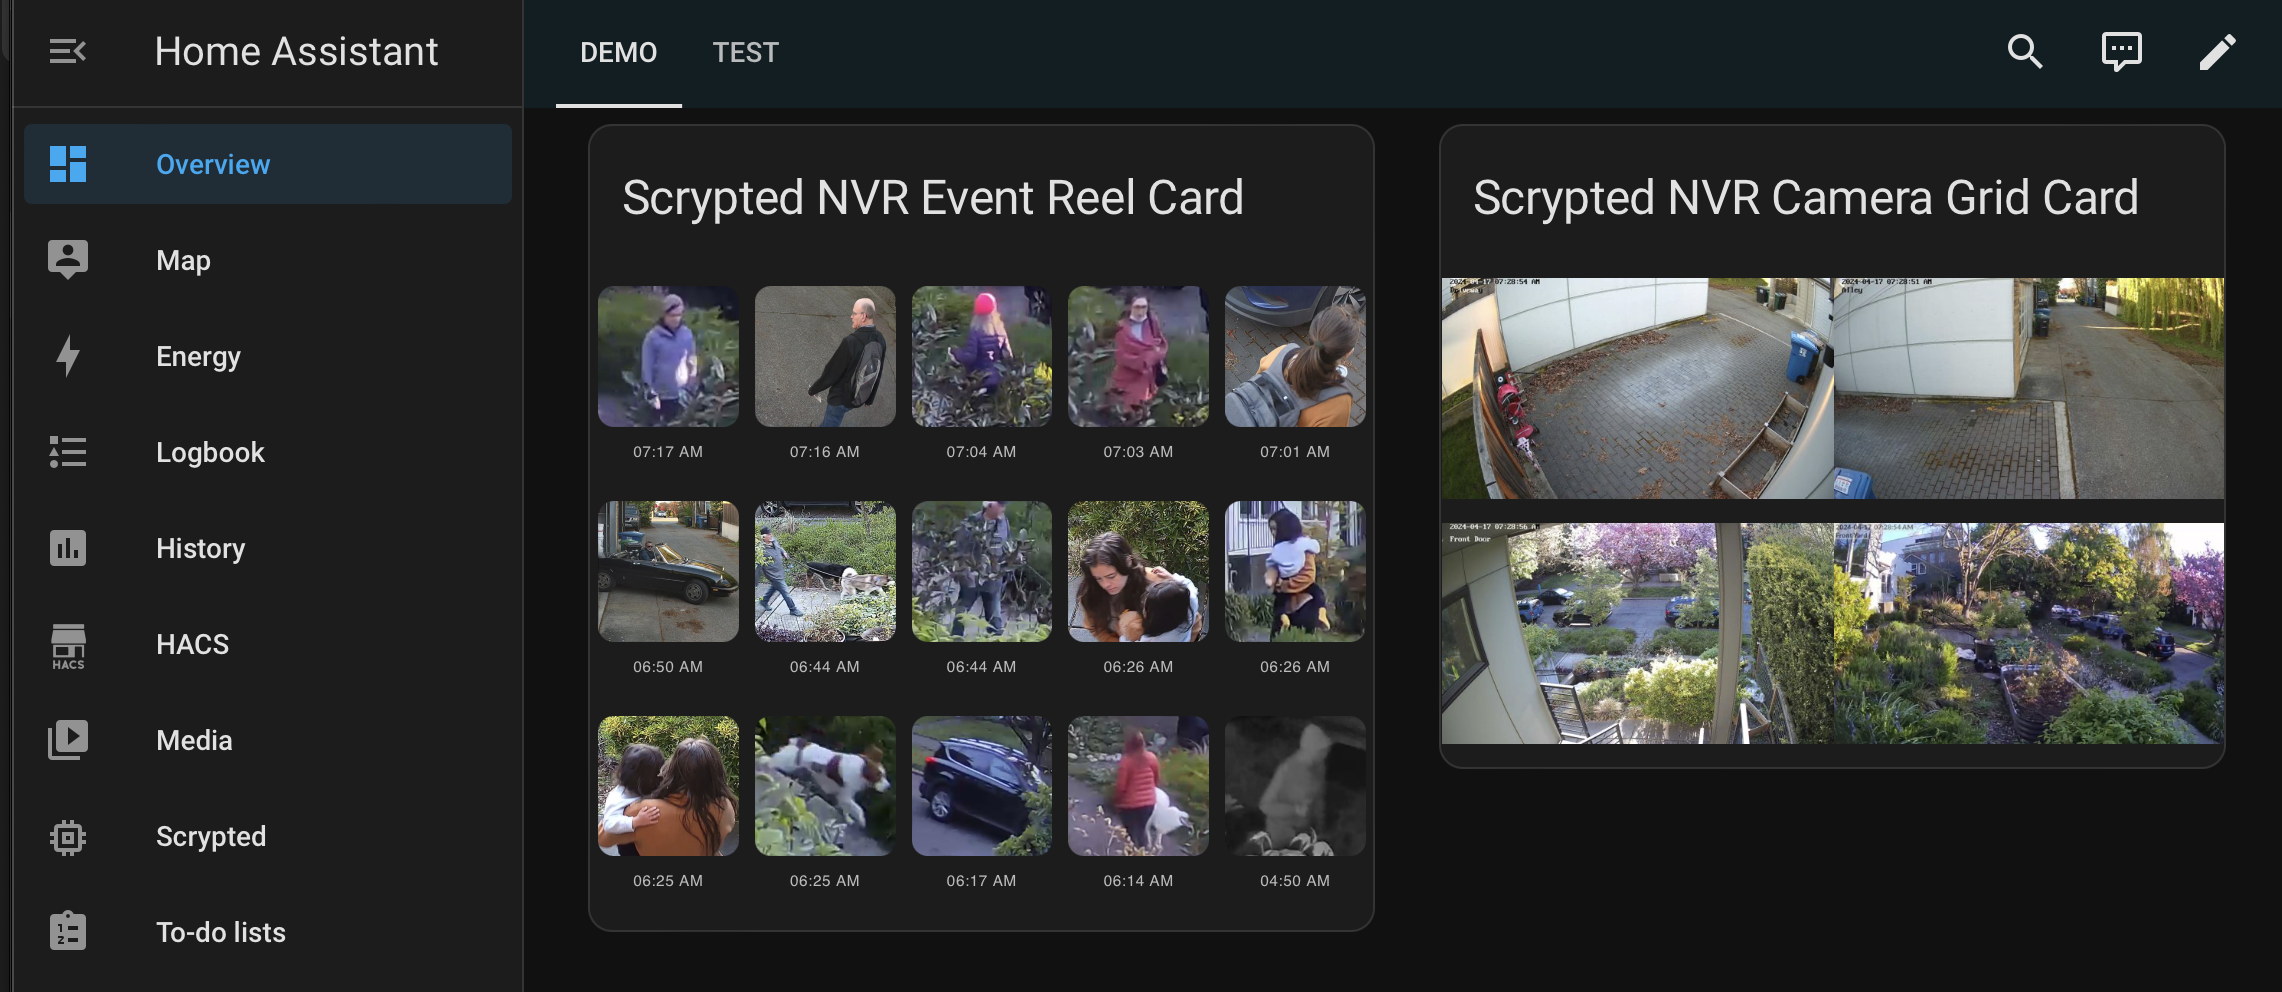
Visit the Scrypted Documentation for setup instructions. Requires Home Assistant 2026.11 or newer.
When Create entities for Scrypted devices is enabled (default), the
integration connects to the Scrypted server over its engine.io RPC API and
creates entities for discovered devices. By default only Camera and
Doorbell device types are mirrored; pick additional Scrypted device types
in the integration options. Smart Motion and Smart Occupancy Sensors created
by Scrypted's object detection plugin are always mirrored. They trigger only
on the object classes you choose (e.g. people, not swaying trees), which makes
them a good fit for automations. Other Sensor devices are left out by default
because they are often bridged from integrations Home Assistant already has
(Ring, UniFi Protect, MQTT).
To combine broad device types with specific sources, exclude plugins in the options: devices from an excluded plugin never get entities, whatever their type. For example, select Sensor but exclude the Ring plugin if Home Assistant's Ring integration already covers those sensors. Excluding the object detection plugin also hides its smart sensors.
Narrowing the options (unselecting a device type or excluding a plugin) removes the devices they now hide, along with their entities, when the integration reloads. Devices that Scrypted itself no longer reports are kept, since they may only be missing briefly; delete those from the device page once you're sure they're gone.
- Camera — snapshots for
VideoCameradevices. For live video use the bundled camera card (below) or the Scrypted NVR cards. - Binary sensor — motion, doorbell button, sound, occupancy, flood, entry, power, connectivity, tamper, charging, sleeping.
- Detected binary sensors — one per object class a camera's detector reports (Person detected, Car detected, …). Each turns on when the class is detected and off after 60 seconds without another detection, like Scrypted's Smart Motion Sensor but with no setup. They are created disabled, since a detection model can report dozens of classes: enable the ones you want from the camera's device page.
- Event — object detection (
person,car, … from the detector's reported classes) and doorbell presses, usable as automation triggers. - Sensor — temperature, humidity, battery, illuminance, UV, CO2, PM2.5/PM10, VOC, NOx, air quality.
- Button — Restart for devices that support rebooting, such as most cameras. Created disabled; enable it from the device page.
- Media player — intercom-capable devices (doorbells, two-way cameras)
become speaker entities: point
media_player.play_media, TTS, or announce at them to talk through the camera speaker. - Switch, lock, cover, light, fan, vacuum, climate — controllable Scrypted devices of those types, once their device type is enabled in the options.
- Notification switches — enable the Notifier device type to get a switch per Scrypted NVR app (one per user per phone or Mac) that mutes its push notifications. Off by default: anyone with Home Assistant access could then mute any household member's notifications.
Scrypted NVR detection clips are also available in the Home Assistant media browser (camera → day → clip) and play through HA's stream component.
State updates are pushed; no polling. Entities reconnect automatically if the server restarts.
The integration includes scrypted-camera-card, a dashboard card that plays a Scrypted camera over WebRTC, with talkback and fullscreen. It needs no Scrypted NVR subscription and no separate install: the card is loaded on every dashboard as soon as the integration is set up.
type: custom:scrypted-camera-card
device: Front Door  # Scrypted device name or id
The Scrypted device id is also shown as the device_id attribute of each
camera entity. See the card's README for every option.
The card remains a separate project and can still be installed on its own.
If it is registered as a dashboard resource (a Marketplace install, or a build
you are developing under /local/), that copy is used and the bundled one is
not loaded, so the two never run together. To switch to the bundled card,
delete the resource under Settings > Dashboards > Resources, uninstall the
card from the Marketplace, then reload the integration and the browser page.
The bundled file is the unmodified release build of the card, which is MIT
licensed (custom_components/scrypted/frontend/LICENSE.scrypted-camera-card).
A scheduled workflow (.github/workflows/update-card.yaml) opens a pull
request here whenever the card repository publishes a new full release; it
runs python scripts/update_card.py vX.Y.Z, which can also be run by hand.
A new card reaches users with the next integration release, after a Home
Assistant restart.
The easiest way to develop is using the included dev container:
- Install VS Code and the Dev Containers extension
- Open this repository in VS Code
- Click "Reopen in Container" when prompted (or run the command manually)
- Wait for the container to build and dependencies to install
- Home Assistant will start automatically at http://localhost:8123
The dev container automatically:
- Installs all dependencies
- Sets up pre-commit hooks
- Creates a
config/directory (git-ignored) for Home Assistant and symlinkscustom_componentsinto it - Configures debug logging for the integration
- Starts debugpy on port 5678 (attach with the provided VS Code launch config).
To make Home Assistant wait for the debugger on startup, copy
.devcontainer/.env.exampleto.devcontainer/.envand setENV_DEBUGPY_WAIT=true.
To set up a local development environment:
# Create and activate virtual environment
python3.14 -m venv venv
source venv/bin/activate

# Install dependencies
pip install -r requirements_dev.txt

# Install pre-commit hooks
pre-commit install

# Run tests
pytest

# Run linting and formatting checks
ruff check .
ruff format --check .